Getting Started
Overview of tools used
This documentation is rendered using Sphinx, which is a Python-based documentation generator that takes plain-text source files in reStructuredText (rST) to produce various output formats (this example uses HTML).
Additionally, Sphinx is extensible by other Python packages to expand its functionality - these tools are summarized below:
Tool |
Description |
|---|---|
Requirements lifecycle management |
|
Diagrams and charting |
|
Digital timing diagrams |
Visio
/ draw.io can be used to generate any diagrams
more complex than can be done with Mermaid, as they both support .svg
format.
Activating the virtual environment
Confirm the Python Virtual Environment is active - you should see
(.venv) next to your username on the command line:

Virtual environment is active
If you don’t see it, navigate to where you cloned the repository and source the
init_venv.sh bash script:
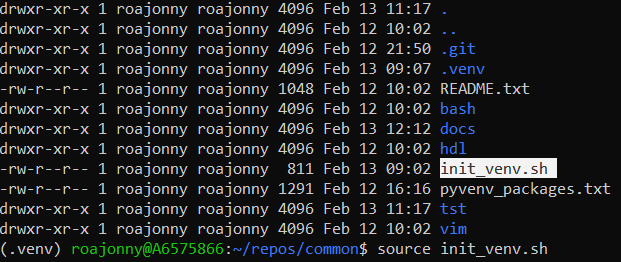
Location of environment initialization script
Note
The script takes care of the virtual environment setup, and installs package
dependencies for all the tools mentioned throughout this example
documentation, so you can just focus on tutorials and effectively skip any
steps that ask you to run any pip install commands
Creating your sandbox
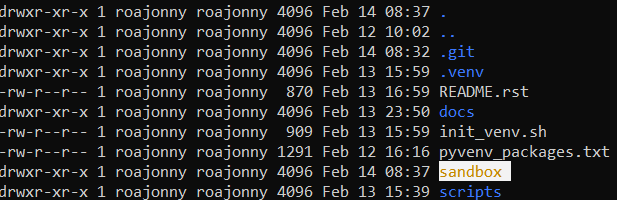
Next, you’ll want to create your own working directory, or a “sandbox”, for going through the tutorials in the next section.
In the repo, let’s run mkdir sandbox and you should see that it was
created:
Creating the tutorial sandbox
Let’s navigate to the sandbox and starting building the foundation.